After using your vape coil for some time, you must have realized the build-up of a thin film of residue. As a beginner, it’s essential to understand that an accumulation of dirt will clog your device and reduce its efficiency. That’s why you need to clean it regularly.
Cleaning it is a good maintenance practice that makes the coil last longer. This also helps you to enjoy a tastier, cleaner, and better vapor. And since the residue can get to the atomizer and degrade the taste of the e-juice, causing dry hits and overheating by clogging the air vents, cleaning it is good for enhanced performance.
But what if you don’t know how to clean your vape device? Well, you shouldn’t worry. We know the challenges that beginners face, that’s why we’re dedicating this detailed guide to beginners.
How to Clean Vape Coil
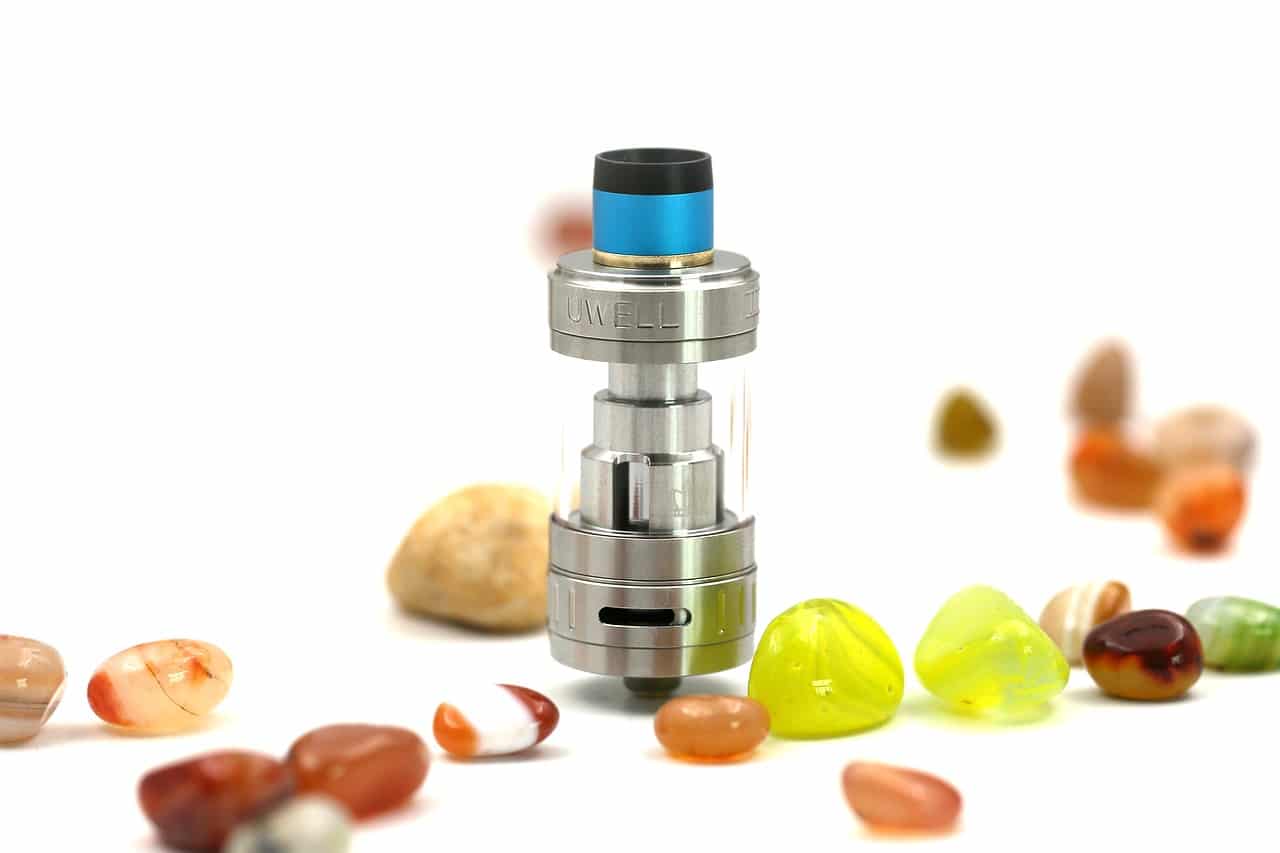
Since you can’t clean just the coil alone, you’ll need to do a thorough cleaning of all the components. Before starting with the cleaning process, you need to understand the anatomy of the vape device. Atomizers consist of 3 main parts: the coil, tank, and the battery.
The tank is the part that holds the e-liquid. Vape coils are the heating chamber that converts e-liquid to vapor while the battery powers the device. Keeping all the parts clean is necessary for the proper functioning of the device.
The tank and coil might require frequent cleaning whenever you change the e-liquid or after using it for a while. Since cleaning the tank is straightforward, and there is no tool available for cleaning the battery, we’ll focus on cleaning the coil.
Good vaping and maintenance habits coupled with our safest CBD vape pens and also guarantee a great vaping experience.
Here’s a step by step guide:
Step 1: Strip Down the Atomizer
Cleaning the vape coil begins with disassembling the atomizer. You want to be careful when removing the components to avoid breaking them. Also, note how it was fixed or take photos to guide you when assembling after the cleaning process.
Remove the atomizer head and move to other parts component by component until it’s completely disassembled. The good thing is that most of the parts allow easy disassembly.
With a well-disassembled device, you should be having the coil head, base, pyrex tube, or glass, mouthpiece, the top cap, etc.
- Holding the base of the tank upside down, unscrew the tank by twisting using your other hand
- Empty the remaining e-juice and use a towel to wipe it
- Now unscrew the vape coil from the base by turning it counterclockwise until it loosens
Step 2: Soak the Vape Coil in Hot Water
After removing the vape coil, the next step is to soak it in hot water for sometime before cleaning it. The is to soften and break down any dirt.
Other than hot water, you can use vinegar, propylene glycol, lemon, vodka, or ethanol.
- Rinse the vape coil using running water
- Fully immerse the coil in vinegar or hot water
- Let it sit for an hour or more before removing it
Step 3: Cleaning the Coil
Next is to remove the coil from the water or secondary agent then start cleaning it. If you used cleaning agents, make sure to rinse the coil thoroughly after cleaning to get rid of the flavor that might remain.
- Using a cleaning brush, hold the coil on running water and scrub
- Scrub gently to remove all the dirt and residue
- If you come across stubborn residue, repeat the process by soaking the coil again and then scrub it until it’s clean
- Once all the debris is gone, rinse with hot running water to get rid of the bad flavor
Step 4: Dry the Vape Coil
Even if your vape coil is already clean, it’s not yet time to use it. It needs to air dry first.
Some users prefer leaving the vape coil under the sun or around a heater for water to evaporate. However, whatever process you follow, you need to be patient as it might take time to fully drain the coil.
- Shake it vigorously or leave it standing a while for the water to drain
- Use a dry towel to get rid of any water remaining.
- Drive out the water that might be inside using a hairdryer
- Alternatively, block all the openings with your hands as you blow air inside on one of the openings
- Repeat the process until you’ve blown through each of the openings
- Let it air dry for a while
Step 5: Fix the Vape Coil on the Atomizer

When the coil is completely dry, it’s ready to be fixed back into the device.
- Insert the vape coil into your device and screw in a clockwise direction until it’s tight
- Make sure the coil is tightly held
Step 6: Set Up and Use
If all the other components are well maintained, you can now assemble the device and start using it.
- Take care to fix all the components in the right way. That’s why it’s critical to pay attention when disassembling the parts.
- You can use the photos you took while disassembling the atomizer to guide you as you fix the components.
- Put all the components back and refill the tank. Now it’s ready for use with a better vaping experience.

Conclusion
There you have it. If you follow the steps above, you can be sure to end up with a clean vape coil and, consequently, an enhanced vaping experience.
All vaping devices and components need regular cleaning. Practicing good vaping habits doesn’t just extend the life of the vaping device; it ensures that it performs to its fullest.
We recommend that you clean the device every time you change the e-liquid flavor. This will help you to avoid mixing different flavors, which degrades the quality of vapor.
By Carissa Stevens via https://plantsbeforepills.com/cleaning-vape-coil-a-6-step-beginners-guide/
Keep out of reach of children. For use only by adults 21 years of age or older.


